How to Sew a Button: A Comprehensive Guide for Beginners
Sewing a button is a fundamental skill that every sewer should possess. It's a crucial skill that can help you mend clothes, repair furniture, and even create new crafts. In this article, we'll guide you through the step-by-step process of sewing a button, covering the basics, materials, tools, and techniques you need to master.
Types of Buttons
There are several types of buttons, including:
- 2-hole buttons: These buttons have two small holes for threading the needle.
- 4-hole buttons: These buttons have four small holes for threading the needle.
- Shank buttons: These buttons have a small loop or shank on the back for threading the needle.
To sew a button, you'll need the following materials and tools:
- Thread: Choose a thread color that matches the button and the fabric.
- Button: Select a suitable button that matches the type of fabric and the garment.
- Needle: Use a sharp, thin needle suitable for hand-sewing.
- Sewing machine: If you want to use a sewing machine, make sure it's set up and ready to use.
This particular example perfectly highlights why How To Sew A Button is so captivating.
Step-by-Step Guide
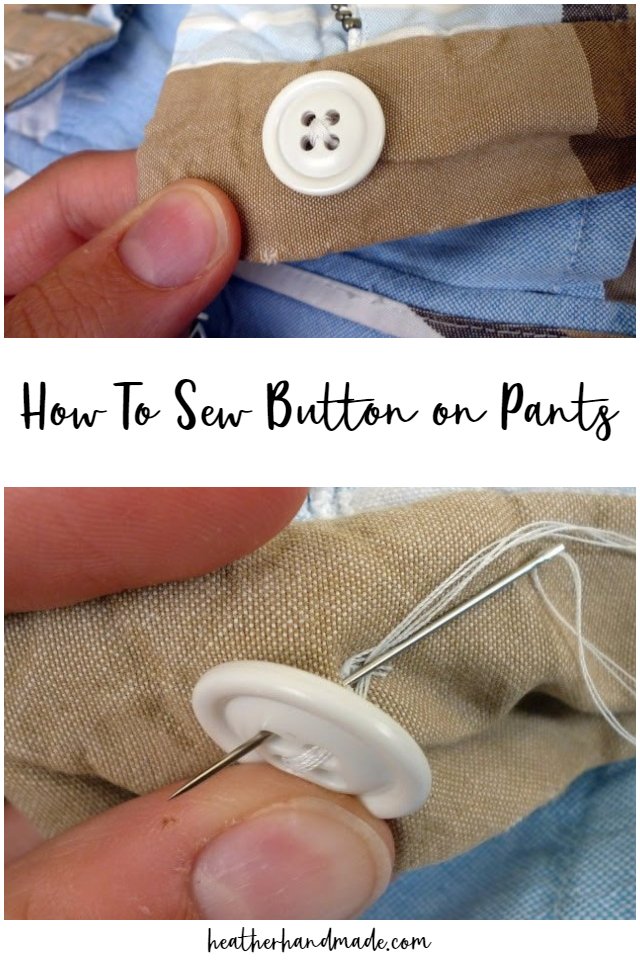
Hand-Sewing a Button
Follow these steps to hand-sew a button:
- Place the button on the fabric, ensuring it's centered and evenly spaced.
- Thread the needle with the chosen thread.
- Bring the needle up through one of the holes (for 2-hole or 4-hole buttons) or the shank (for shank buttons).
- Pull the needle all the way through, leaving a small loop on the wrong side of the fabric.
- Repeat steps 3 and 4, sewing in and out of the holes or shank, until the button is secure.
- Tie a knot on the wrong side of the fabric to secure the thread.
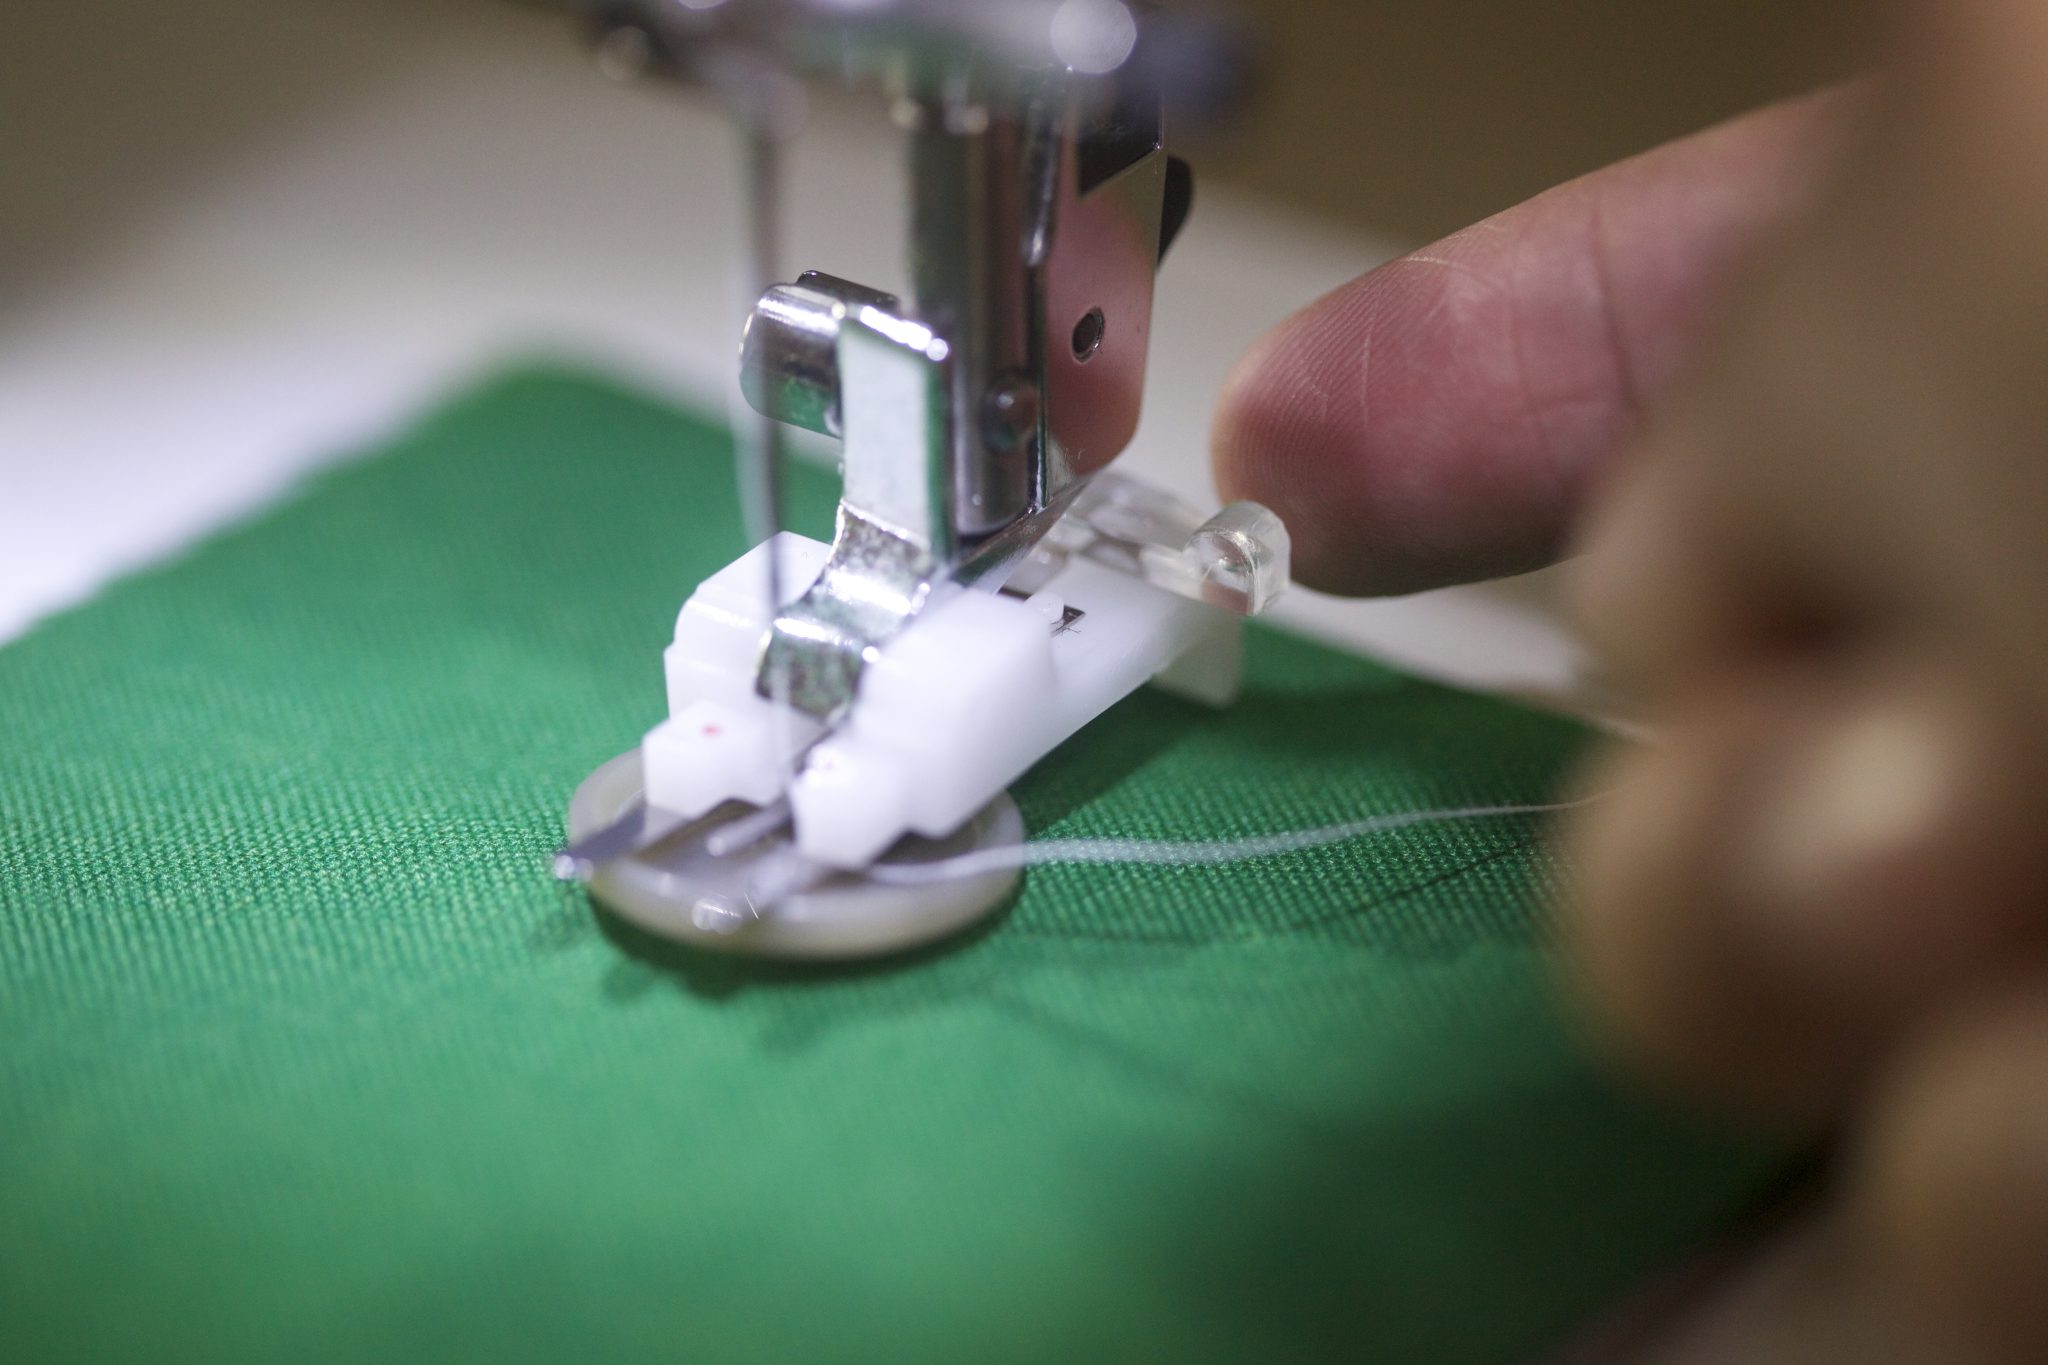
Machine-Sewing a Button
Follow these steps to machine-sew a button:
This particular example perfectly highlights why How To Sew A Button is so captivating.
- Place the button on the fabric, ensuring it's centered and evenly spaced.
- Thread the needle with the chosen thread.
- Place the fabric under the needle, ensuring the button is positioned correctly.
- Start sewing in a straight line, moving the fabric slowly under the needle.
- Backstitch at the beginning and end of the seam to secure the button.
Tips and Tricks
Here are some additional tips and tricks to keep in mind:
• Use a matching thread color to blend with the fabric.
• Use a thimble to protect your fingers from the needle.
• Use a magnifying glass or lamp to see the stitches more clearly.

• Use a matching button to ensure a secure attachment.
• Use a sewing gauge to ensure even spacing.
With these steps and tips, you're now equipped with the knowledge to sew a button like a pro! Remember to practice makes perfect, so don't be afraid to try it out on a scrap piece of fabric before working on your actual project.
Conclusion
Learning how to sew a button is a fundamental skill that can be applied to various sewing projects. By mastering this skill, you'll be able to repair and create new garments, home decor, and crafts. Remember to use the right materials, tools, and techniques, and don't be afraid to practice and experiment until you get it right.
 - VULKK.com")


 - wikiHow")

 | Family Handyman")


