How to Capture Screenshot on Mac iBooks: A Comprehensive Guide
Are you a Mac user looking for a way to capture screenshots on your iBooks device? Look no further! In this article, we will guide you through the various methods of taking screenshots on your Mac, including keyboard shortcuts, the Screenshot app, and third-party tools. Whether you need to capture a full screen, a selected area, or a single window, we've got you covered.
To take a screenshot of the entire screen on your Mac, press and hold the Shift, Command (⌘), and 3 keys together. This will capture the entire screen, including the Dock, top menu bar, and everything else. If you want to capture a selected area, press Shift, Command, and 4 instead. This will allow you to drag a selection rectangle to capture a portion of the screen.
How to Capture Full Screen Screenshot
Follow these steps to take a full-screen screenshot:
- Press Shift, Command (⌘), and 3 keys together.
- Release the keys to capture the entire screen.
- Wait for the screenshot to be saved to your desktop.
How to Capture Selected Area Screenshot
- Press Shift, Command (⌘), and 4 keys together.
- Drag a selection rectangle to capture the desired area.
- Release the mouse button to capture the screenshot.
- Wait for the screenshot to be saved to your desktop.
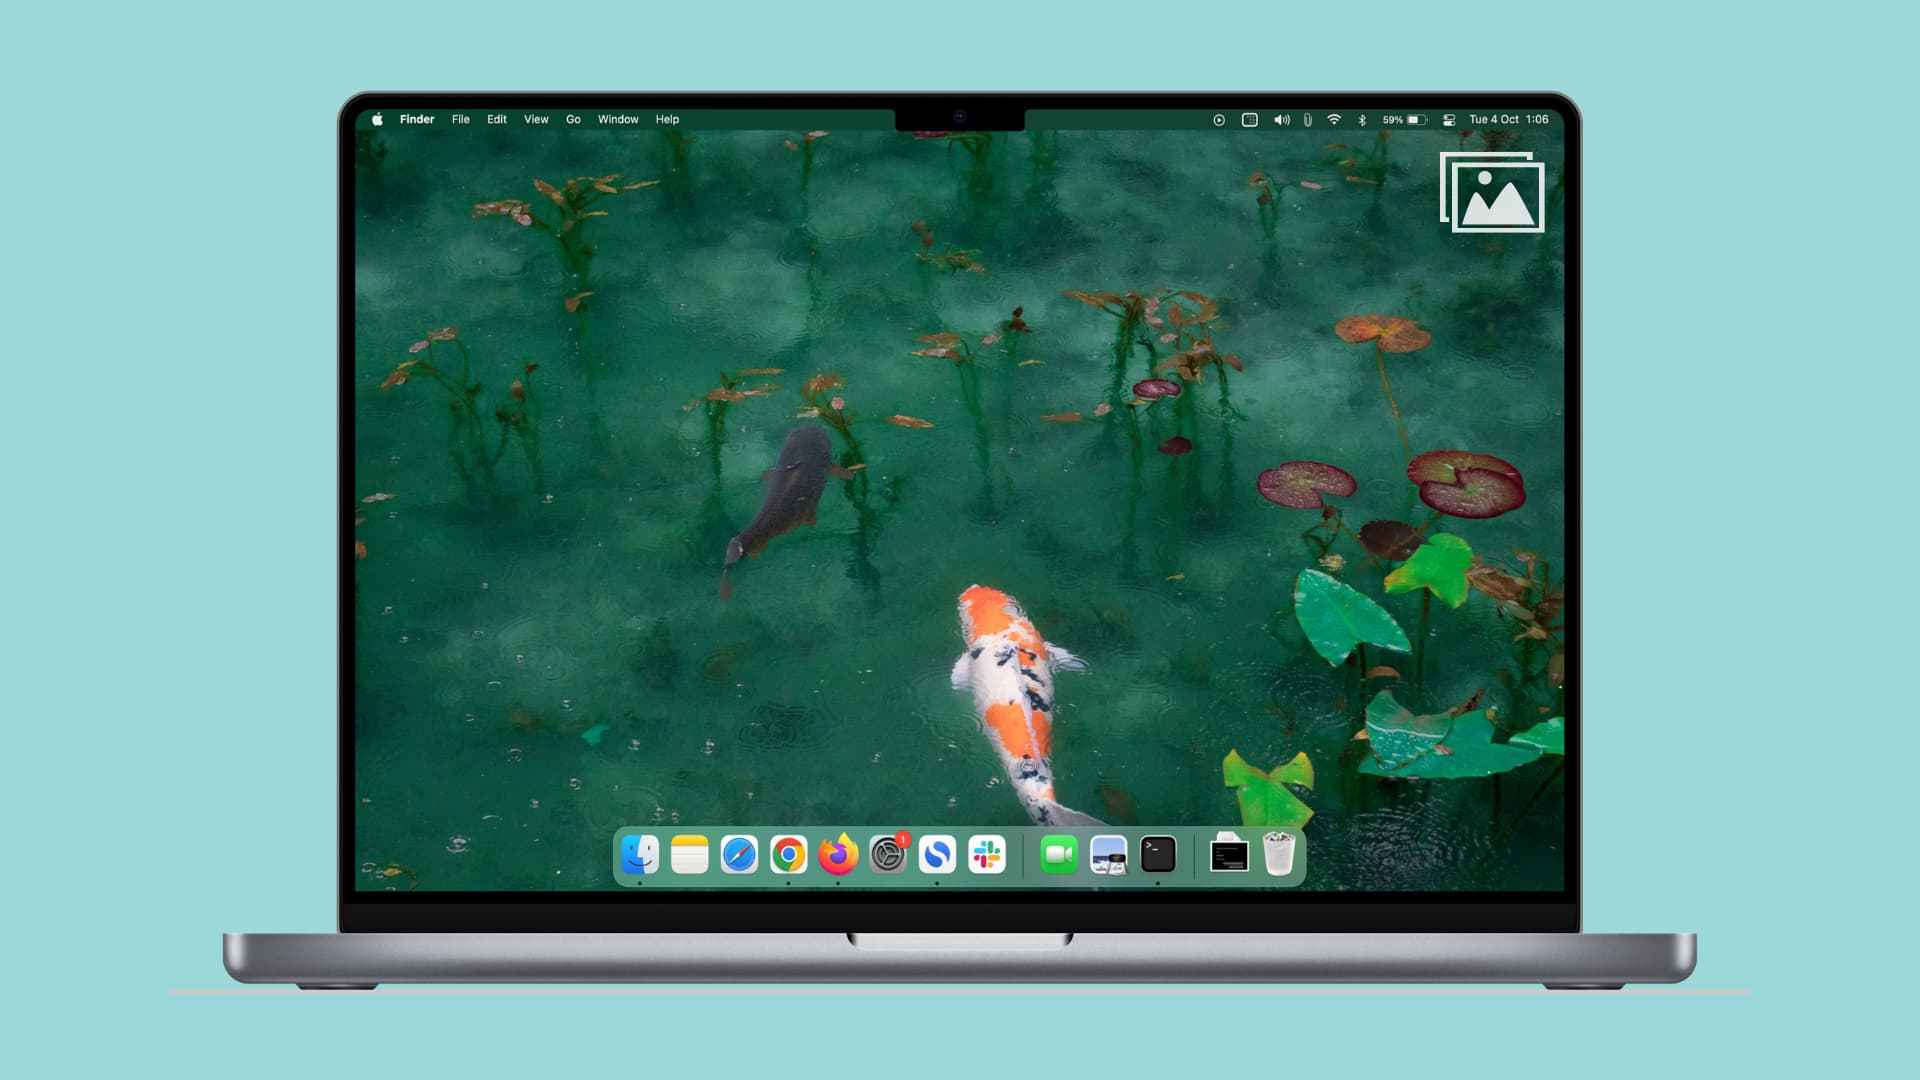
As we can see from the illustration, How To Capture Screenshot On Mac Ibooks has many fascinating aspects to explore.
Method 2: Using the Screenshot App
How to Capture Screenshot Using the Screenshot App
Follow these steps to take a screenshot using the Screenshot app:
- Launch the Screenshot app from the Launchpad or Applications folder.
- Choose the type of screenshot you want to capture, such as full screen, selected area, or window.
- Adjust the settings as needed, such as setting a timer delay or including the pointer or clicks.
- Click the Capture button to take the screenshot.
- Wait for the screenshot to be saved to your desktop.
Method 3: Using Third-Party Tools
Method 4: Using Third-Party Tools
If you're looking for more advanced screenshot features or customization options, you can use third-party tools such as Snagit, Skitch, or Monosnap. These tools offer a range of features, including the ability to capture screenshots, record screen activity, and edit screenshots with annotations and effects.
How to Install Third-Party Tools
As we can see from the illustration, How To Capture Screenshot On Mac Ibooks has many fascinating aspects to explore.
Follow these steps to install third-party tools:
- Visit the website of the third-party tool you want to use.
- Click the "Download" or "Install" button to download the software.
- Follow the installation instructions to install the software on your Mac.
Conclusion
In conclusion, taking screenshots on your Mac is a straightforward process that can be accomplished using keyboard shortcuts, the Screenshot app, or third-party tools. Whether you need to capture a full screen, a selected area, or a single window, there's a method that suits your needs. By following the steps outlined in this article, you can take high-quality screenshots and share them with others.
FAQs
Q: How do I take a screenshot of the entire screen?
A: To take a screenshot of the entire screen, press Shift, Command (⌘), and 3 keys together.
Moving forward, it's essential to keep these visual contexts in mind when discussing How To Capture Screenshot On Mac Ibooks.
A: To take a screenshot of a selected area, press Shift, Command (⌘), and 4 keys together, and drag a selection rectangle to capture the desired area.
Q: Can I use third-party tools to take screenshots?
A: Yes, you can use third-party tools such as Snagit, Skitch, or Monosnap to take screenshots and record screen activity.
Q: Where are my screenshots saved?
A: Your screenshots are saved to your desktop by default. You can change the location where screenshots are saved by going to System Preferences > General > Save screenshots to.
If you're looking for more information on taking screenshots on your Mac, here are some additional resources:

 - iGeeksBlog")


 - Kinsta")


: Complete Methods & Tips")
